Building a Fermentation Chamber
Fermentation is a wonderful hobby and can make your cooking experience way more interesting. Breading the right fungi and bacteria can require a certain control over the environment though. Especially temperature and humidity can be tricky to get right and a Fermentation Chamber can help here.
Applications
What do I need this chamber for?
| Application | Frequency | Temperature | Humidity | Oxygen |
|---|---|---|---|---|
| Amazake | + | ↑ ≈60°C | ||
| Dry-Aging Meat | ? | ↓ ≈0-4°C | ↓ 75-80% | |
| Koji | ++++ | ↕ ≈30°C | ↑ 60-80% | yes |
| Lacto-Fermentations | ++ | ↕ ≈18-25°C | ||
| Sourdough | +++ | ↕ ≈24°C |
Yes, not all of these things are fermentations, but the requirements overlap and the main application will be fermentation, so I will stick to the term Fermentation Chamber.
Requirements
Every good project starts with some thoughts about the features and constraints:
- modular: There are ready-made fermentation chambers like this Proofer, but they are missing a feature or two (exact humidity control for example) and if something breaks, it is hard to repair them. A modular approach enables you to choose, upgrade, repair and replace just the right parts.
- unobtrusive: Living in a not-too-big flat rules out solutions like entire fridges. Depending on where the chamber should be places, the running chamber should also be somewhat silent.
- inner size: It should be able to house the following things:
- measurement probes
- any cooling / heating / humidifier / de-humidifier parts
- a fan
- still enough air to circulate
- the payload (tray, bottle, bowl)
- compatiblity: Of course all the modular parts need to work together, this means apart from long enough cables this also means that controllers need to be able to actually control your actors (like heaters). While this sounds trivial, this is not always the case (see section about humidifier).
- temperature range: Taking the room temperature of 18-24°C as the baseline, the chamber needs to support the following temperatures:
- cool down to ≈0-4°C, but only very rarely
- stabilize at ≈18-30°C (heat and cool)
- warm up to ≈60°C
- humidity range: The following two direction should work:
- decrease, slightly
- increase, a lot
- (somewhat) energy efficient: It would be nice if it does not require a massive amount of energy. This is mostly a requirement for the box itself (thermal isolation) and the cooling part.
- portable: Since I might want to put the fermentation hobby to sleep for a month or two (depending on the personal situation), the chamber should be somewhat portable, so I can move them in the attic.
- reliable: A big part of fermentation is to patiently watch things grow. You want to relax and enjoy this hobby, so all the parts should work properly and without you worrying about the setup too much.
Chamber Parts
The chamber itself consists of a handful modules. This section contains some German Amazon links and you might need to look for other parts depending on your region. Some parts (e.g. a proper humidifier) really require some research.
The Actual Chamber + Cooling
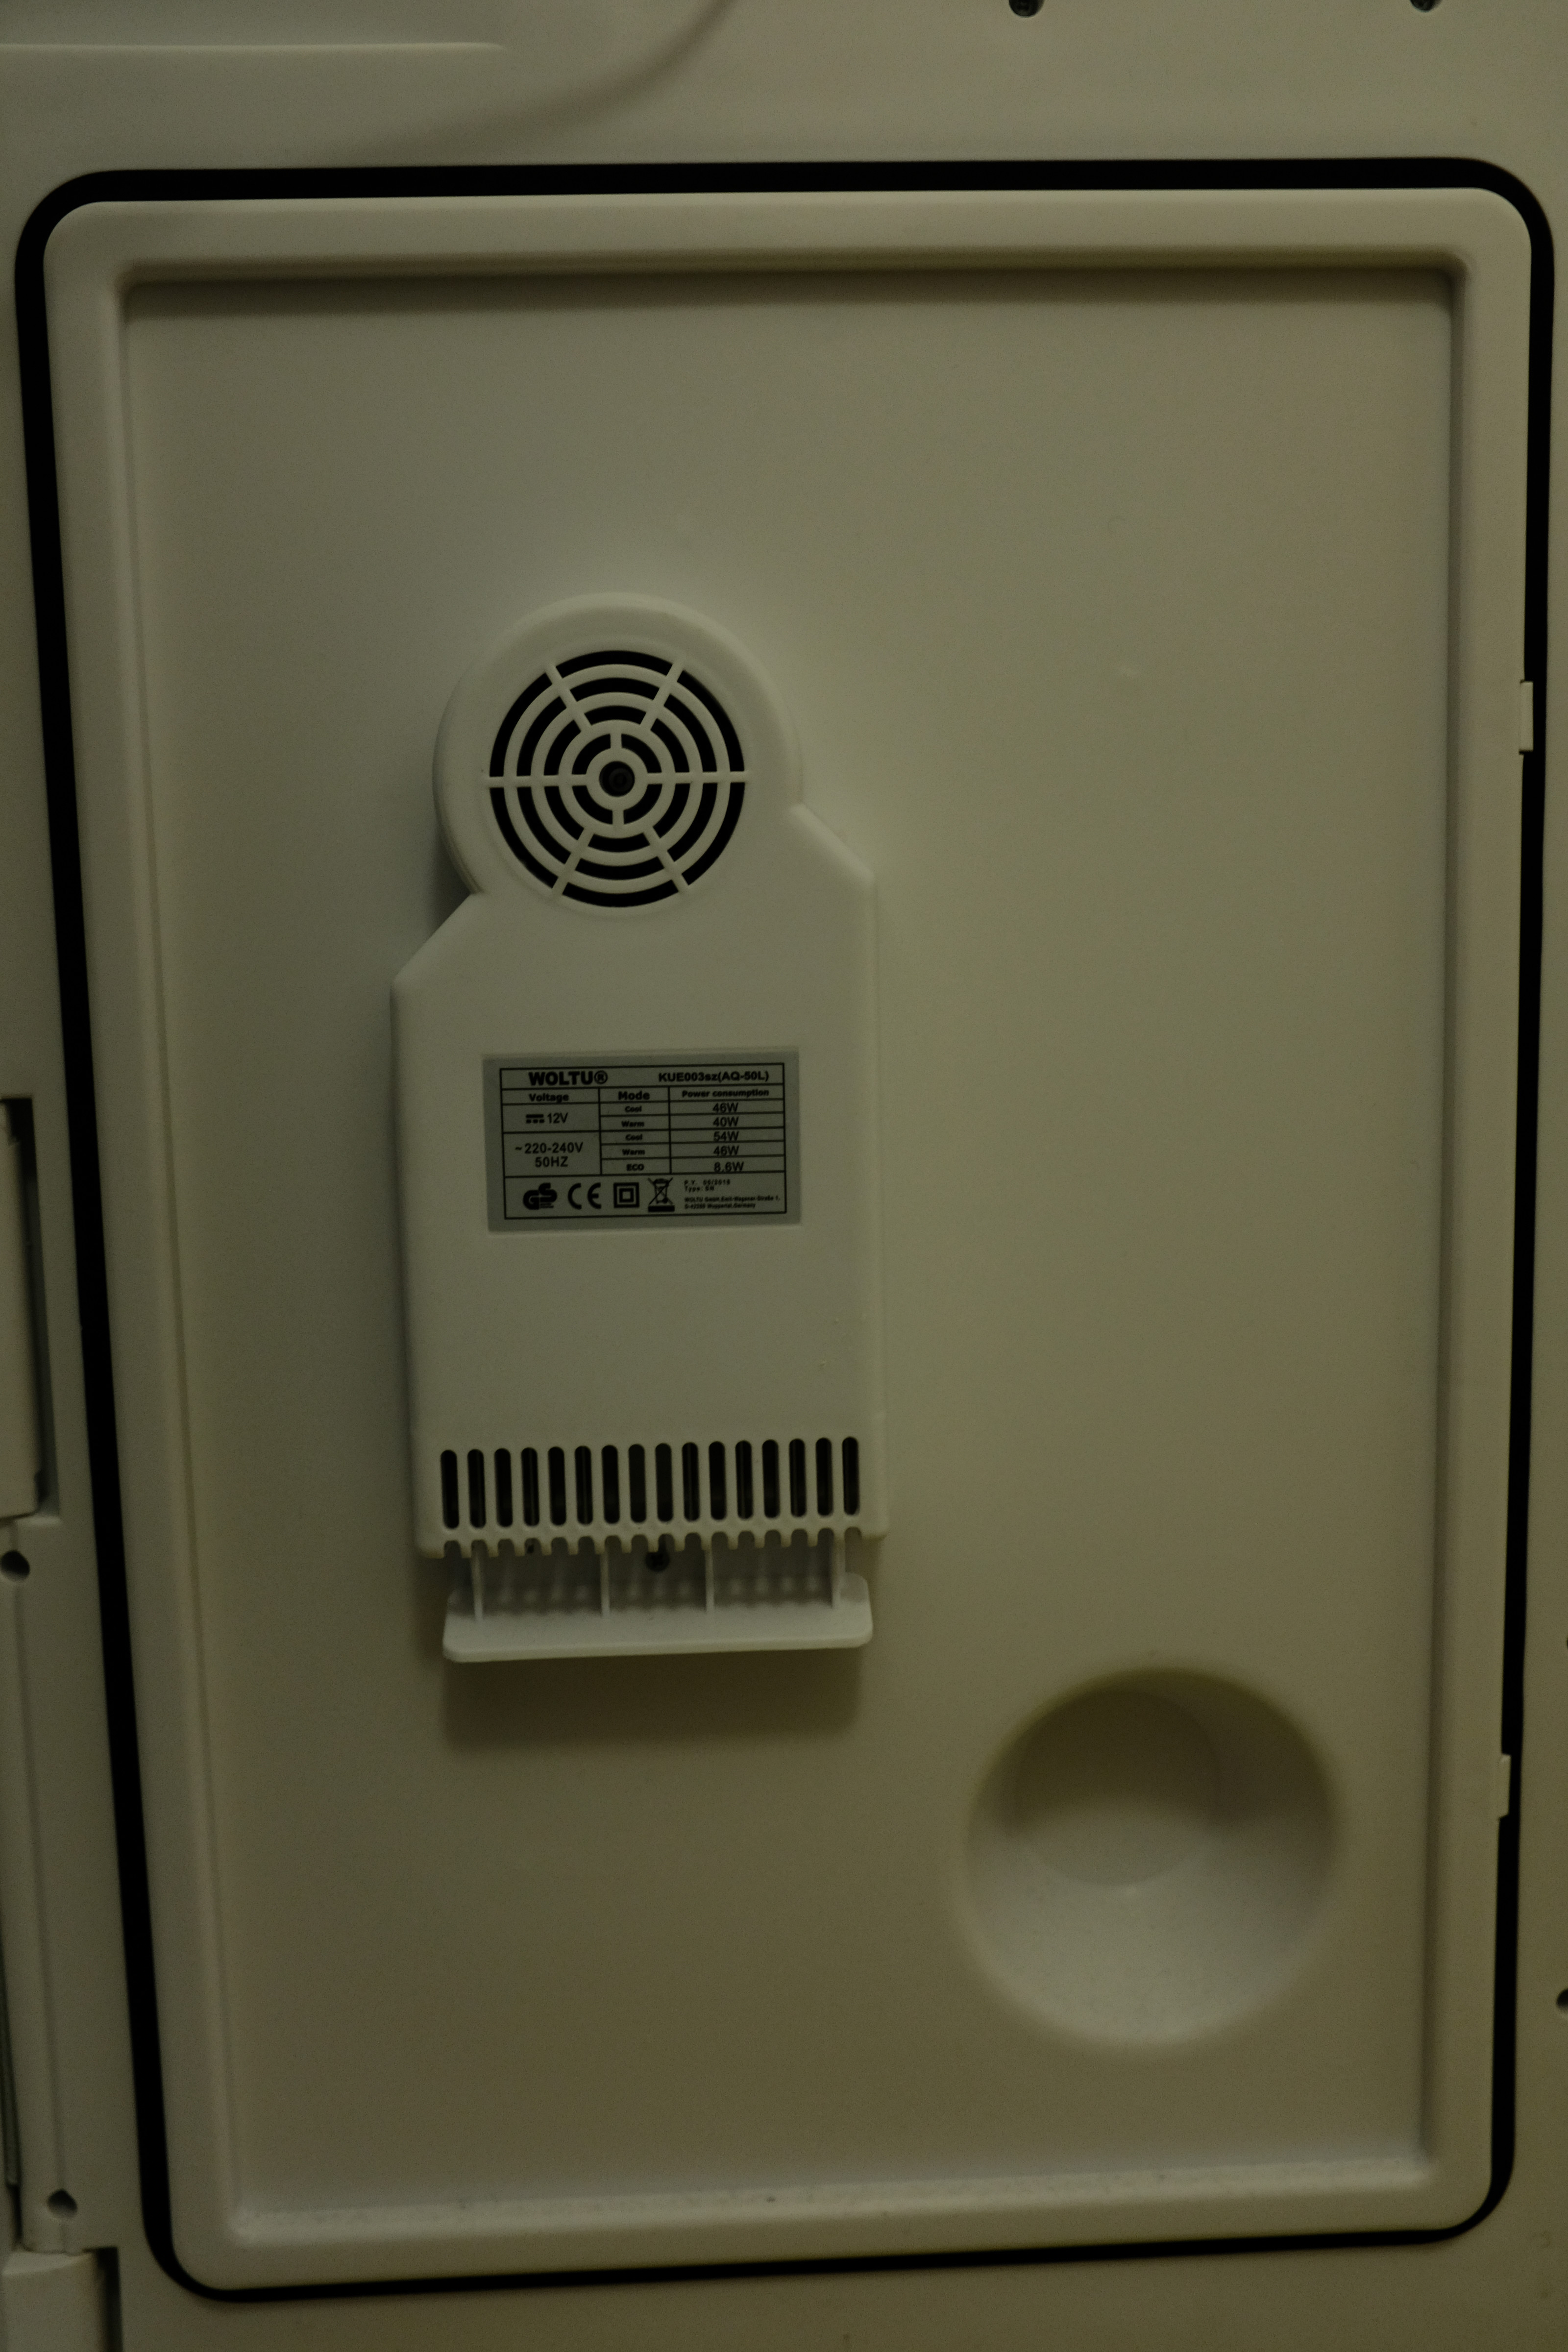
Some kind of chamber / box is needed. A fridge is too big, a mini-freezer too small. So I went for a Cooling Box, 50l, which also provides the cooling. The cooling is not very efficient for the ≈0-4°C range, but it should work during the winter and is a good start. I might upgrade to a fridge at some point though.
Temperature Control
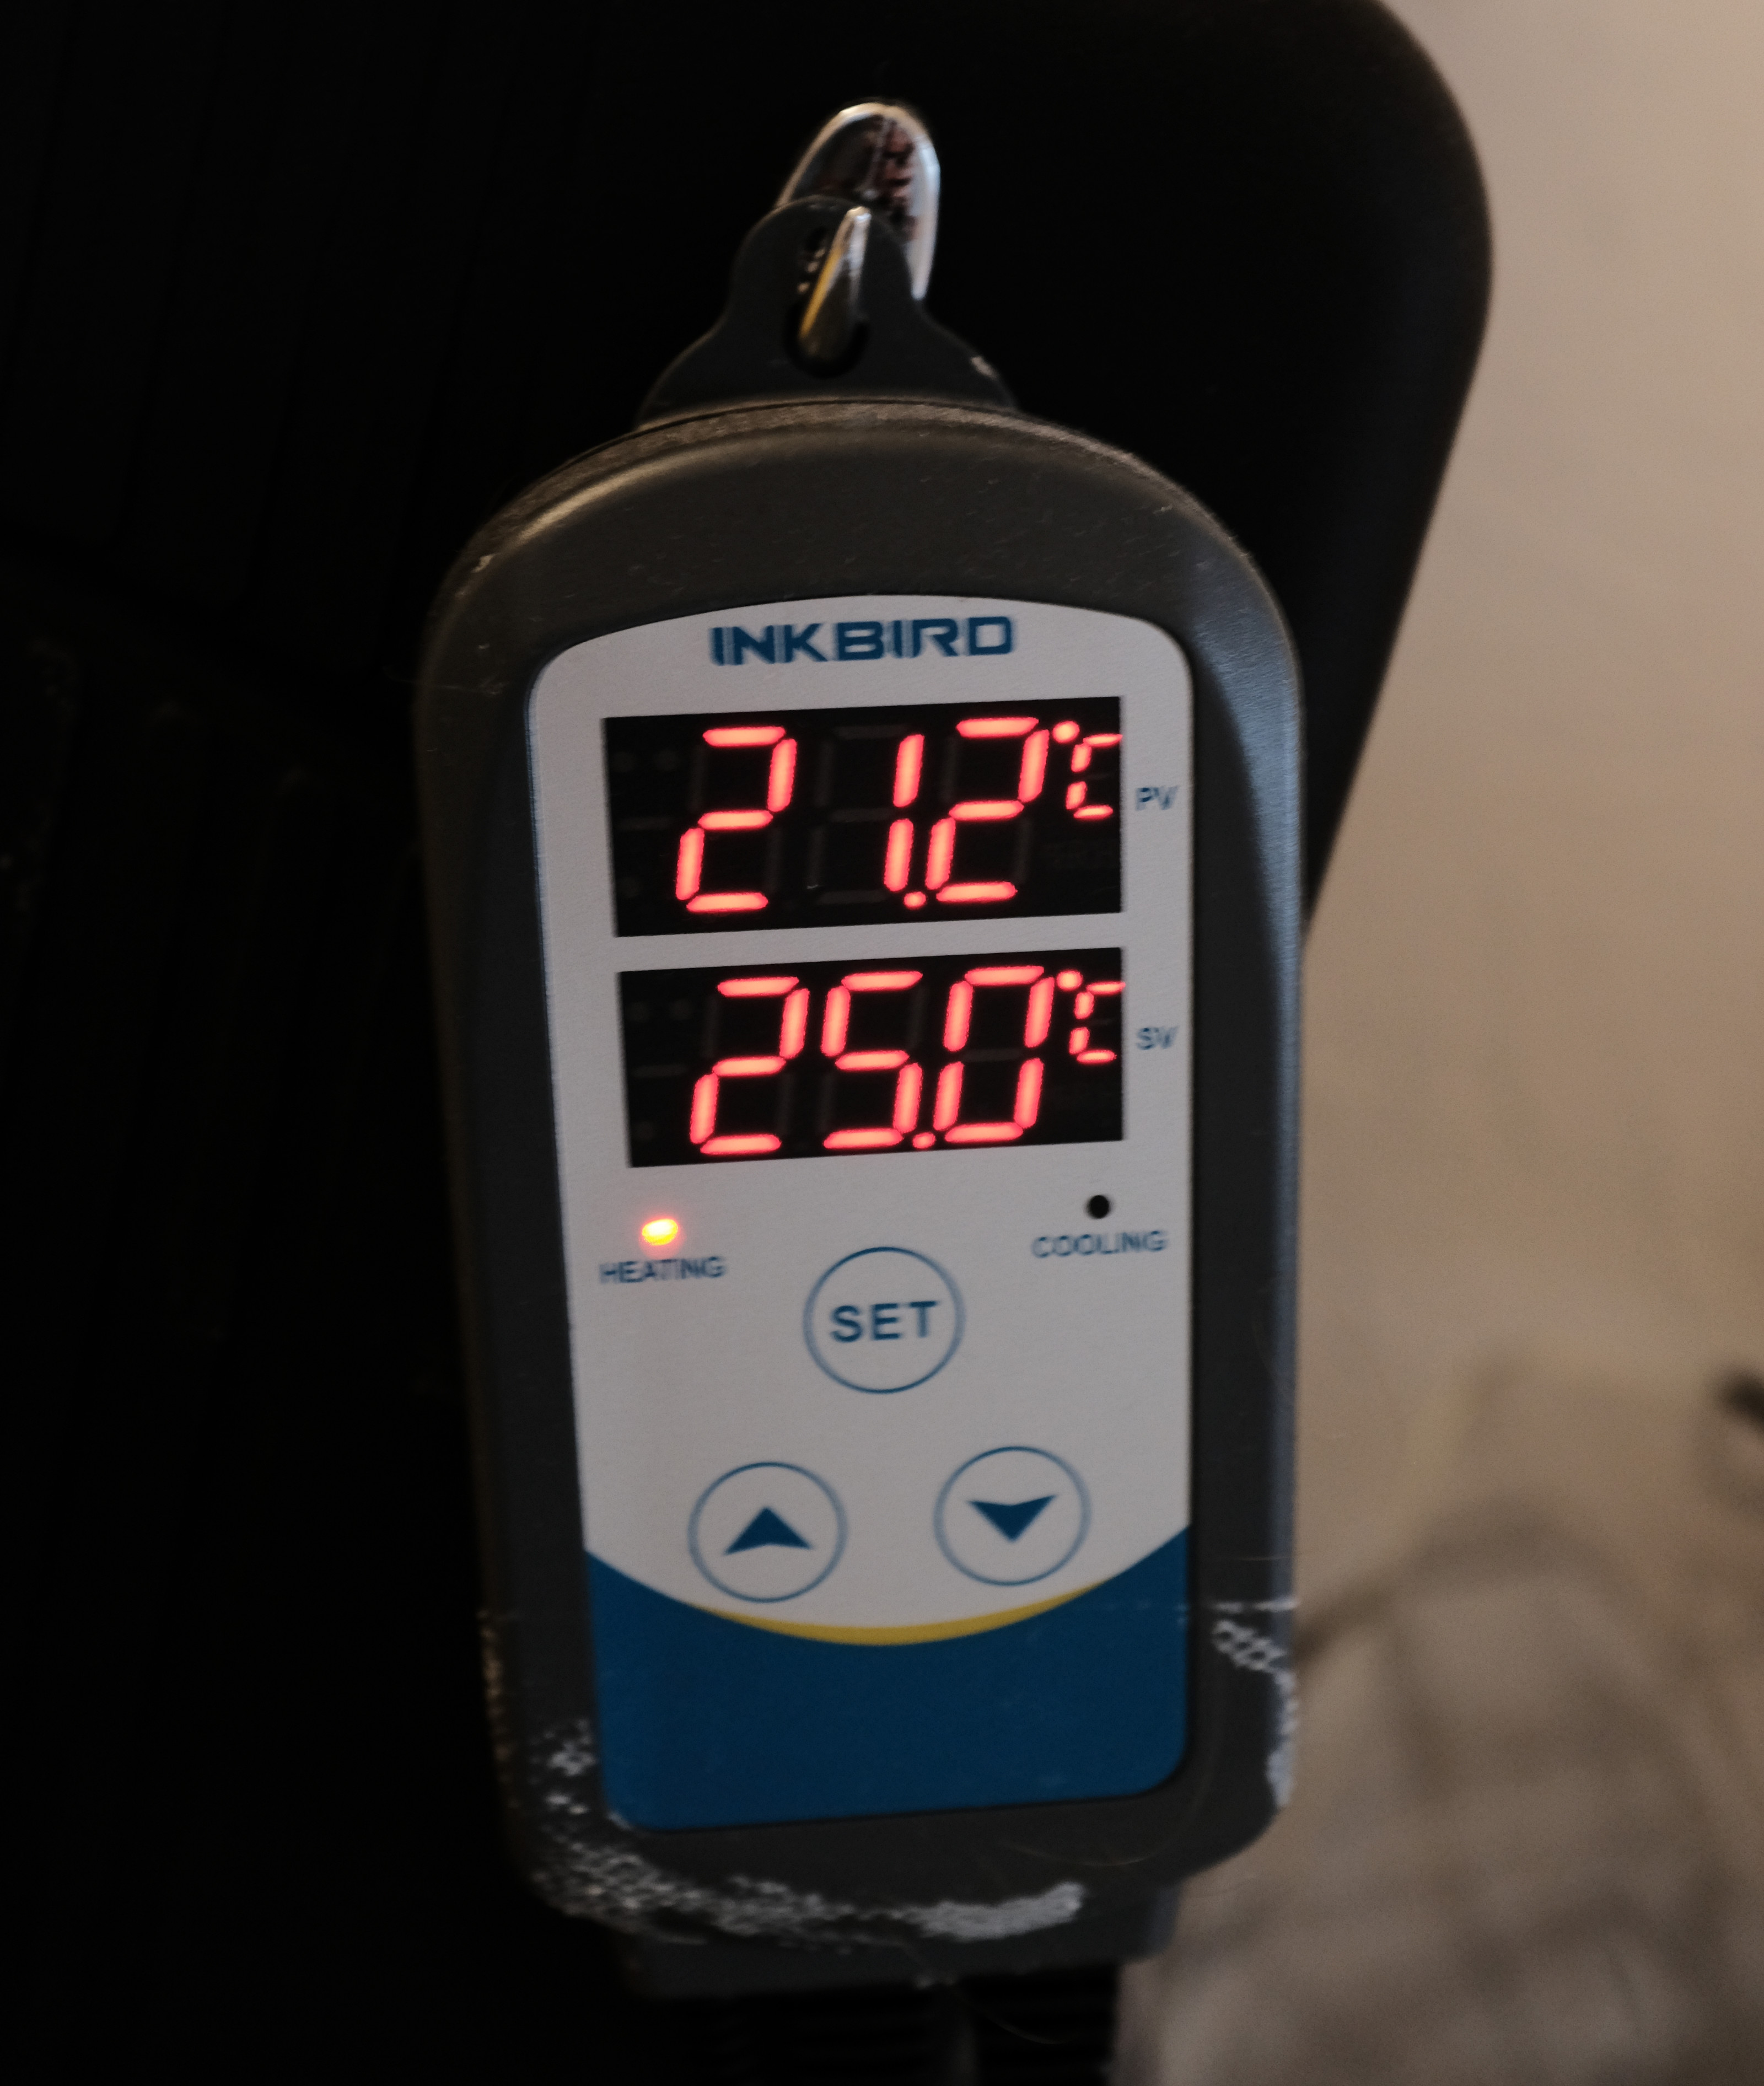
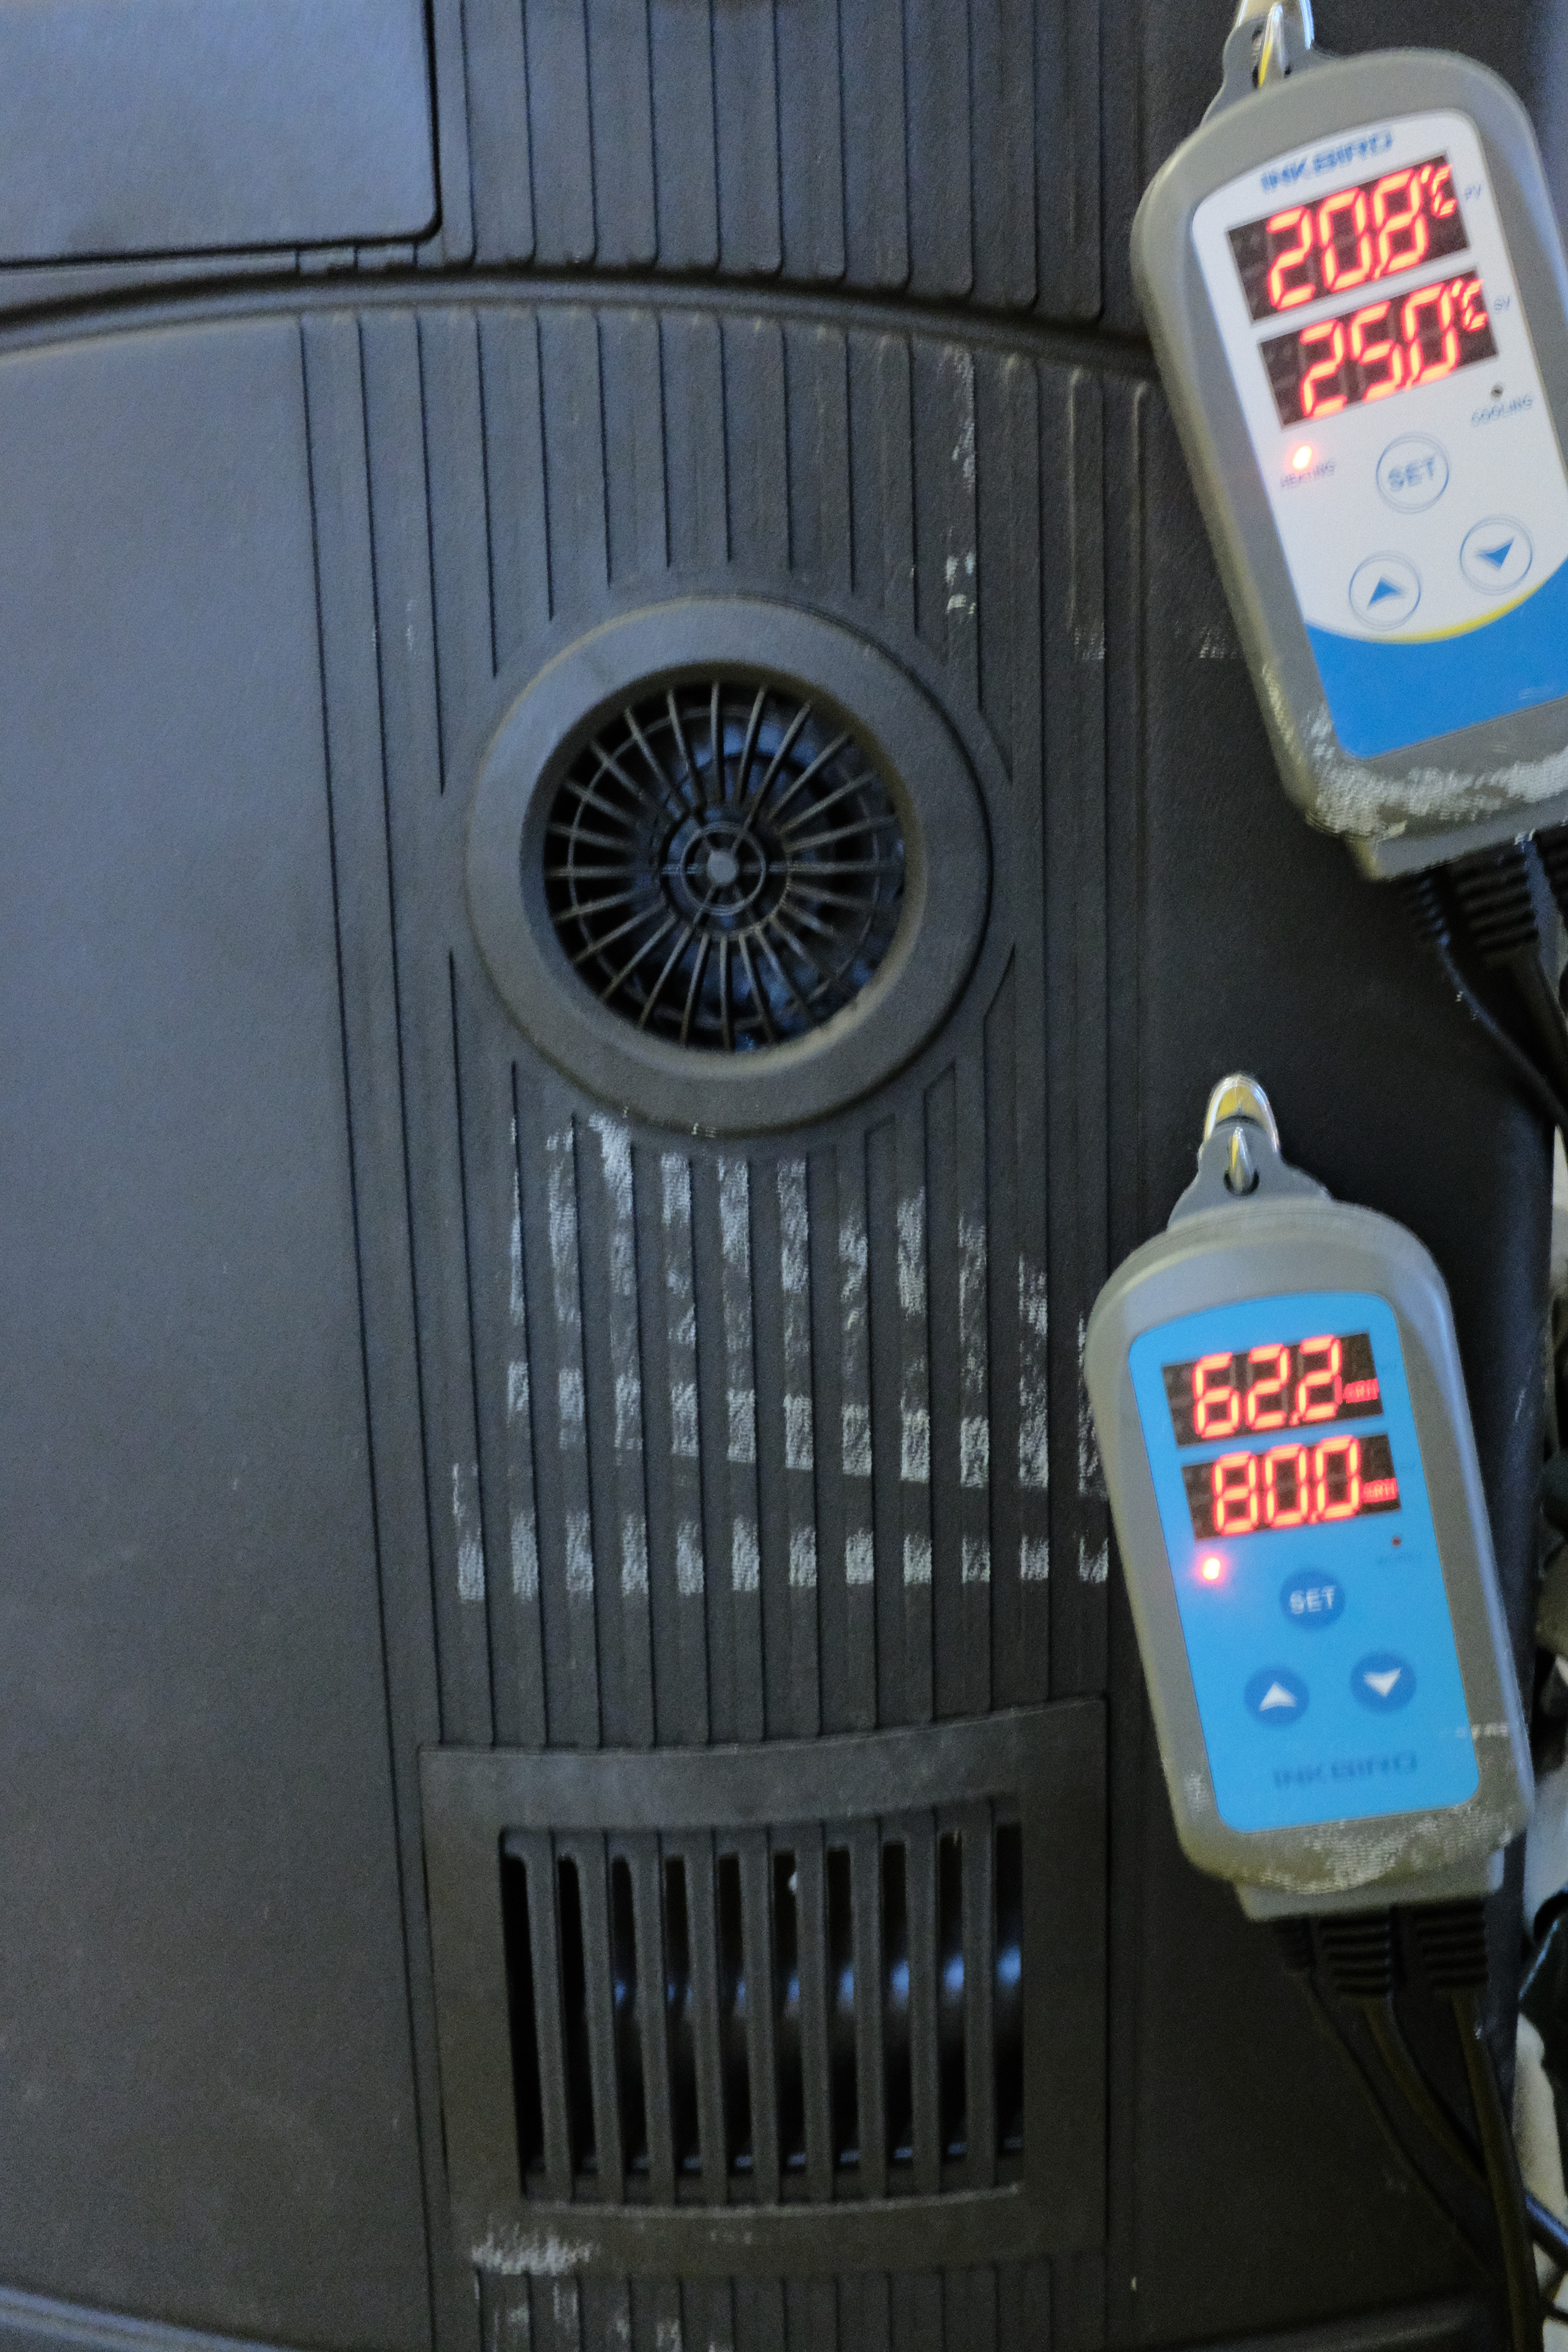
Splitting the controller from the actual heater / cooler is nice because you can choose the parts depending on the temperature range and because the box might already come at least with a cooler (also if you are using a fridge or freezer). I went for the Inkbird ITC-310T-B which many people described as well designed and reliable. It has a probe and two sockets for a heating and a cooling device, which are enabled via relays. If you want to get more fancy, you could also use a PID controller which are also available from Inkbird.
Heating
Most people are using heating pads, but I could not find one which provides enough power but still fits into the box. Also, the device should be somewhat moisture resistant. I found this 15W Thermo Cable but needed to upgrade to the 50W Version after running a test (see Chamber Tests) and figuring out that it took ages to reach 30°C. Keep in mind that more power is not always the right choice. If you are not using a PID controller, you might easily overshoot the target temperature with too much power.
Humidity Controller
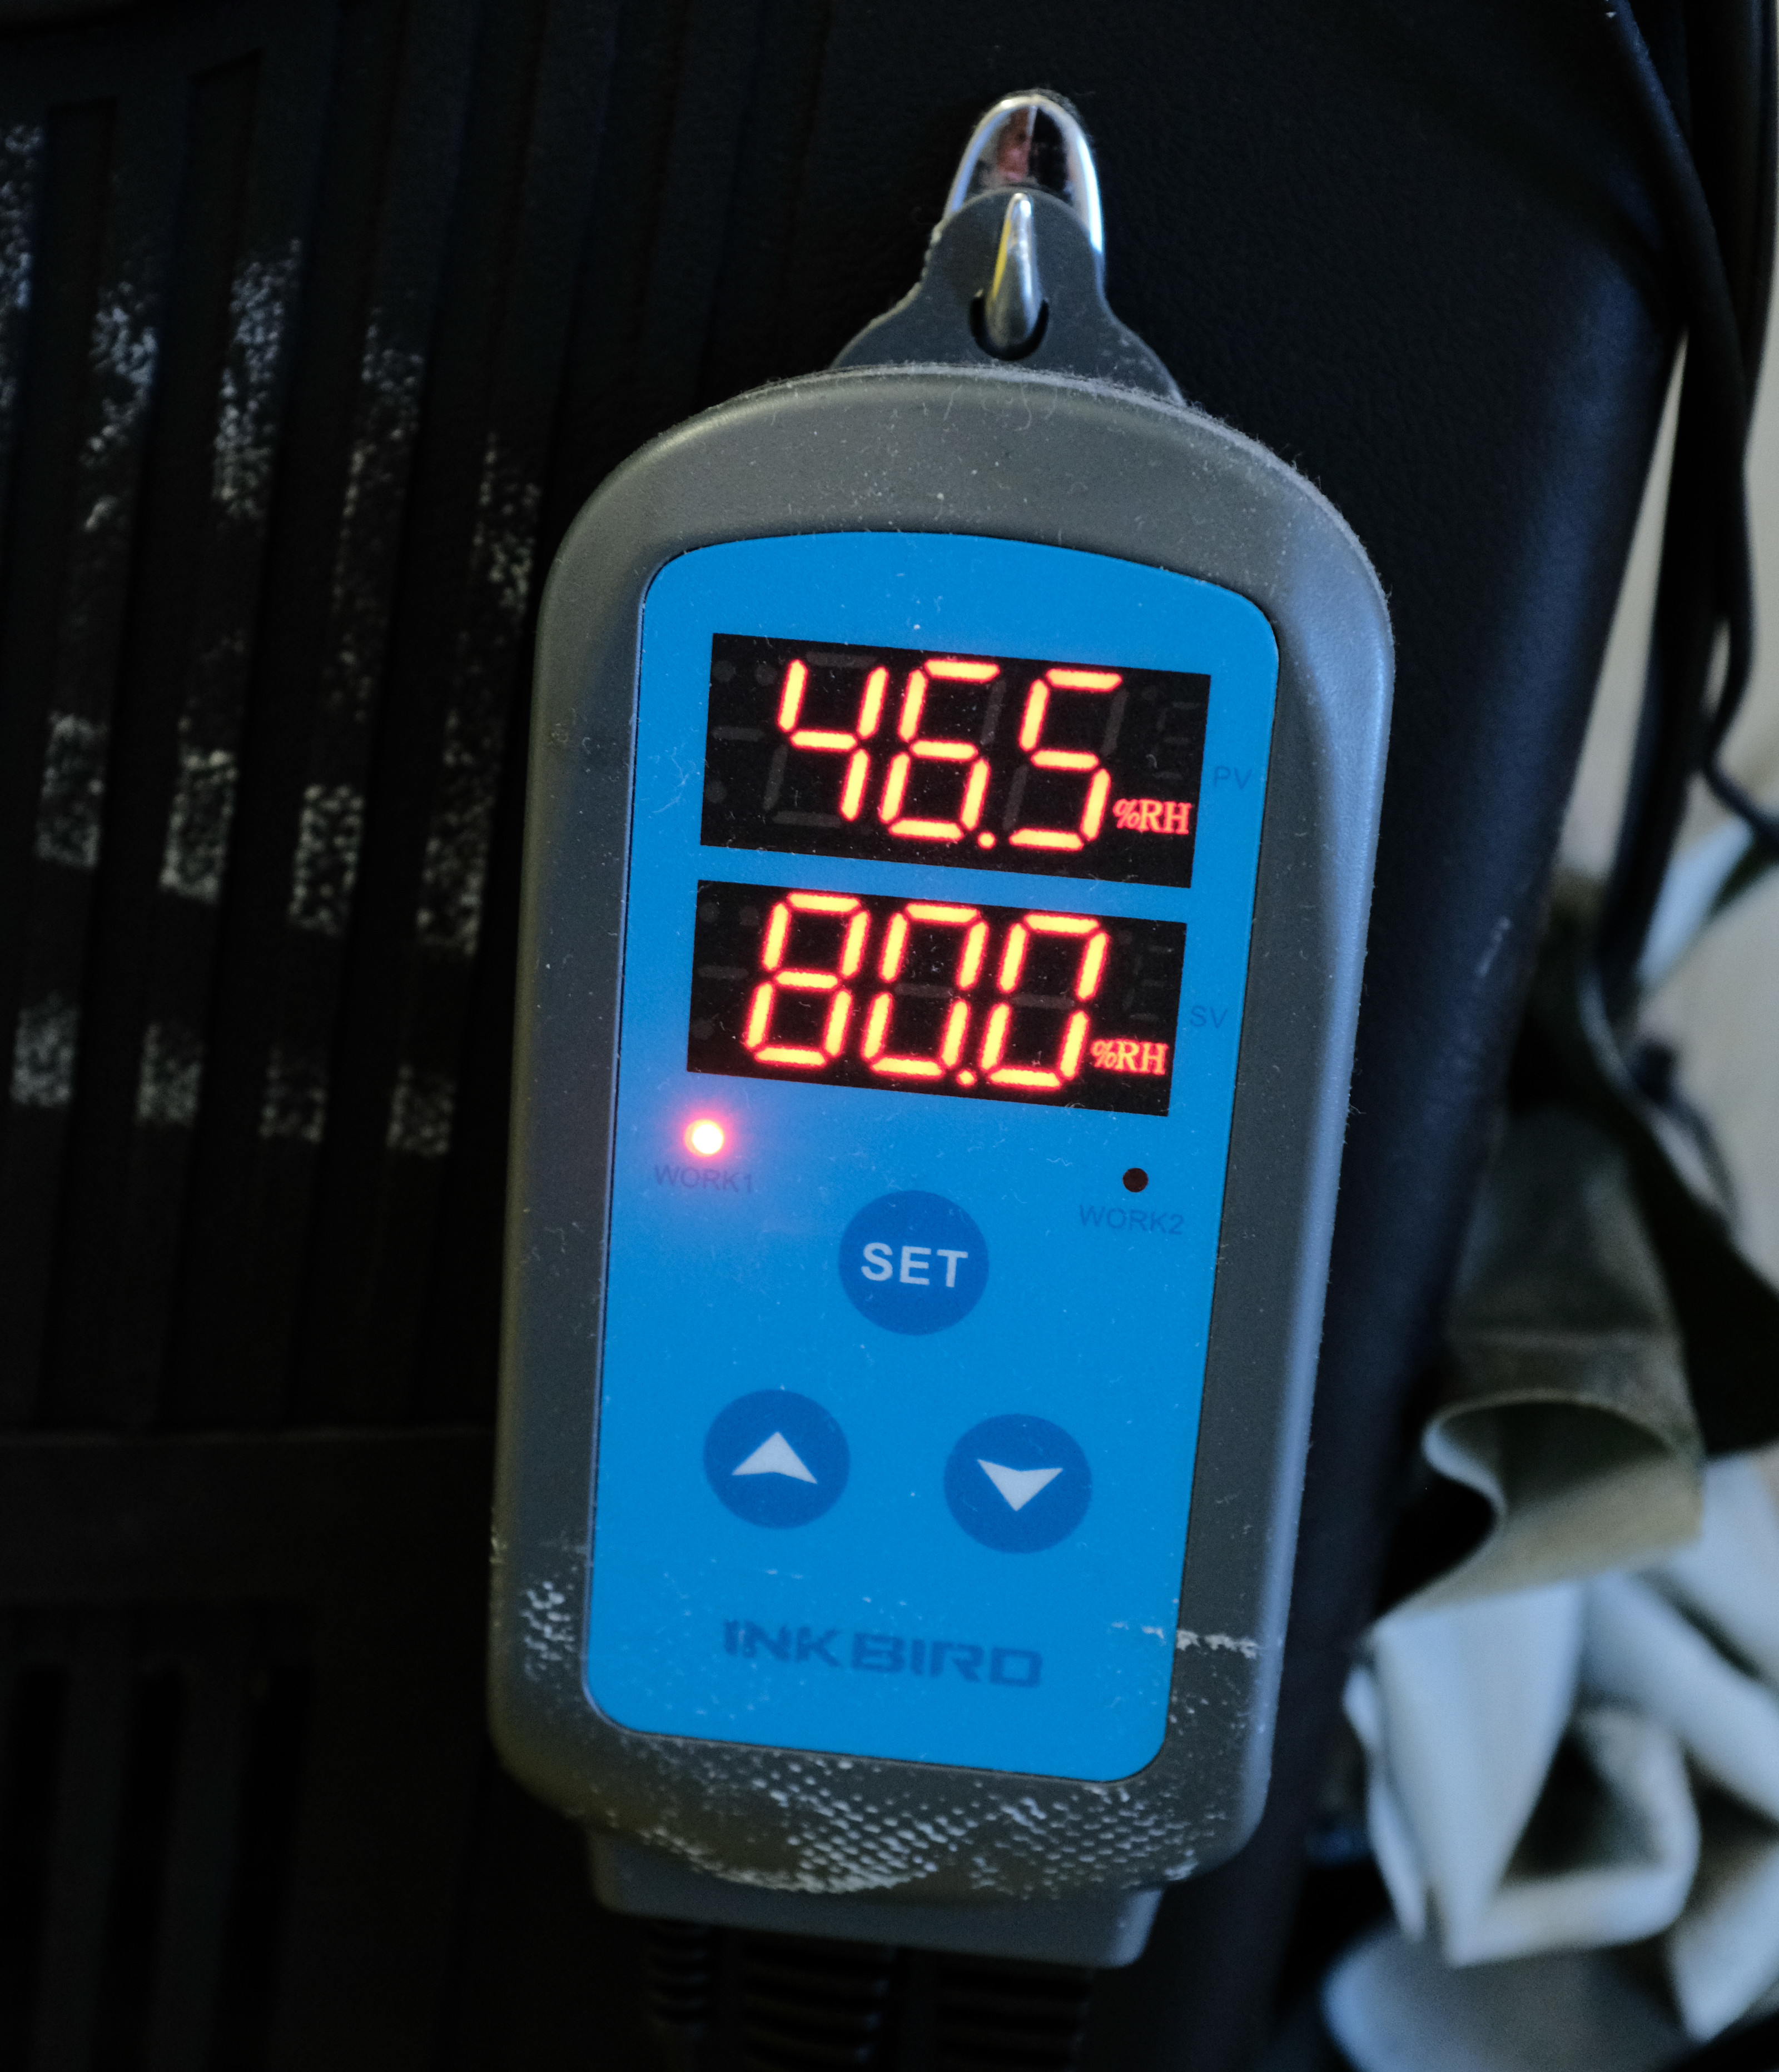
Similar to the temperature controller, the Inkbird IHC-200 offers good humidity control.
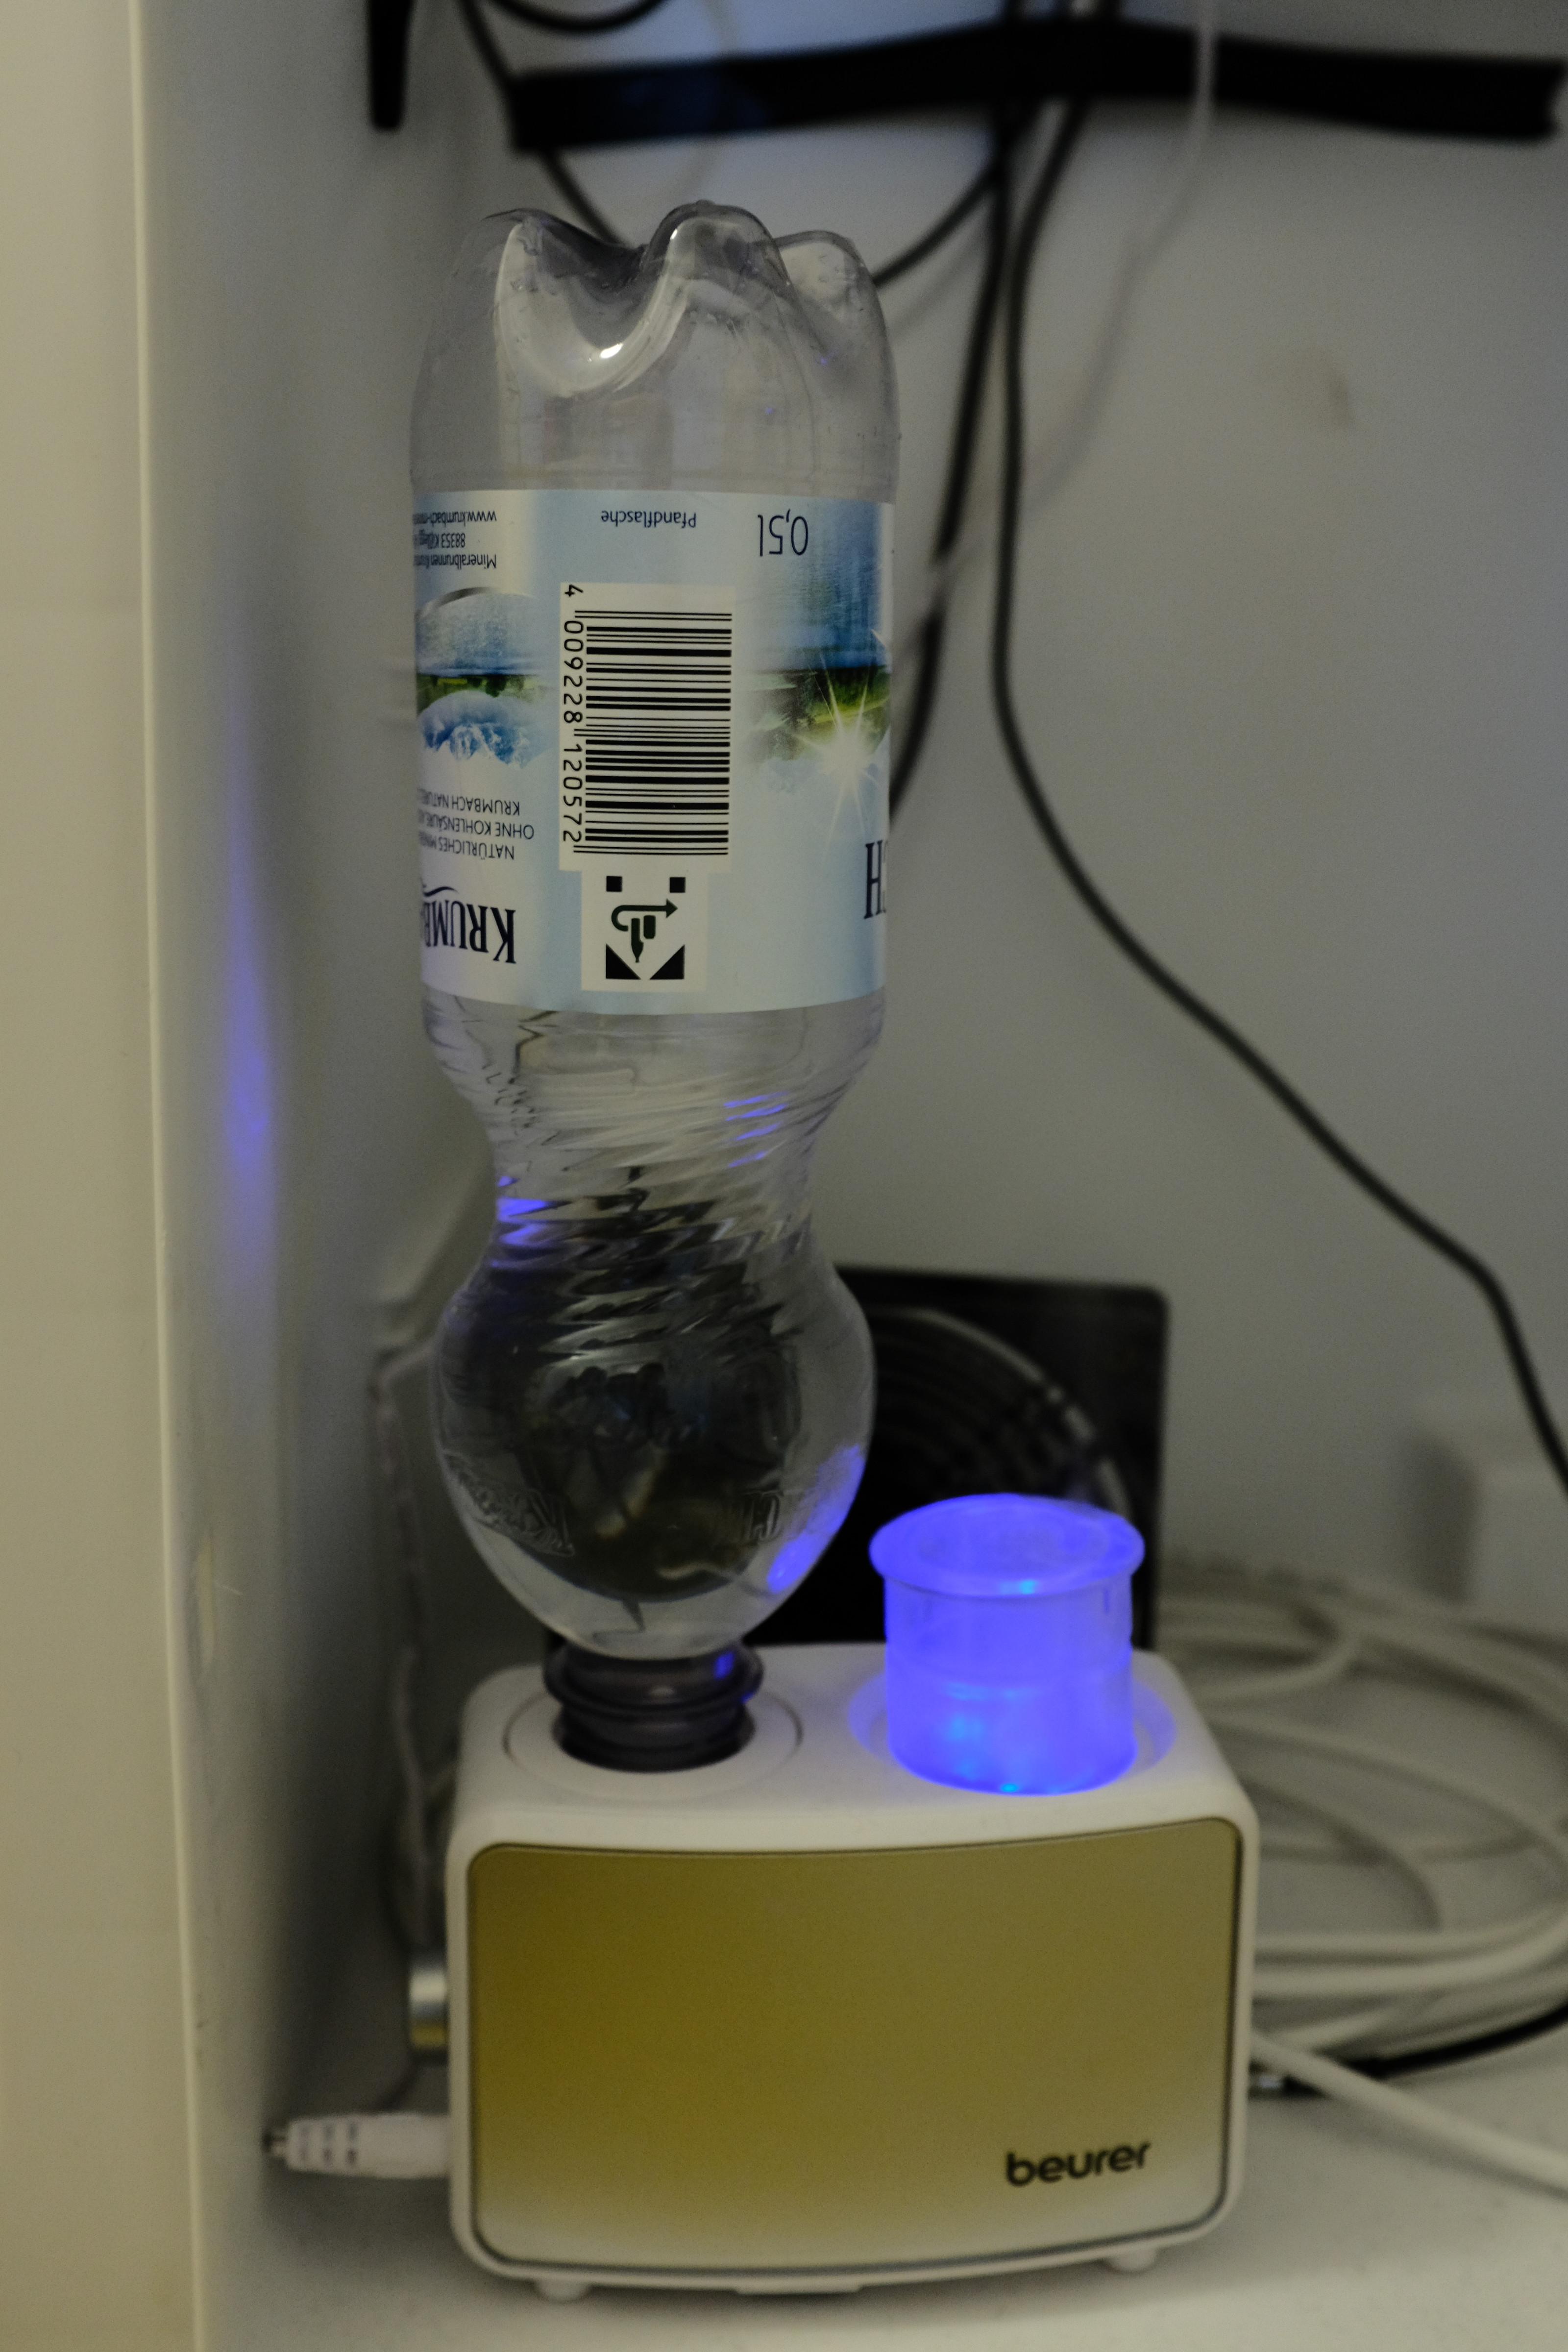
Humidifier
Surprisingly, this was the most complicated part. A big issue in this field is size, since most humidifiers are built to operate in 20+qm rooms. I initially decided for this model. While this it was a documented by other people, I forgot to double check how this thing turns on and off. Turning off works by cutting the power, but re-enabling the power does not turn it on again since you have to touch a touch-button. Just grounding the button with a cable also does not work, since “press and hold” just enable some colorful LEDs. So all these fancy functions made it impossible to use this thing with the humidity controller, so I returned the humidifier.
The second model was extremely simple and worked with the controller, but had another issue: if not turned on for some time, water started to pass the mini speaker membrane and gathered at the top of the membrane. So when the device was activated again, it failed and slowly sunk. So I ended up with a very try Koji, making the whole experience very stressful (I started to double-check the device every hour or so).
I ended up with a somewhat fancy model which — in my opinion — was absolutely worth the price. It works like a charm, the product quality is excellent, it has multiple activity levels and the refill process with the bottle on top is easy (it comes with a valve which is screwed onto the top of the bottle.)
De-Humidifier
I did not buy any yet, but the issues are similar to the one in the humidifier section: either they are too large, of bad quality or do not turn on when power comes back. I did some research however and this model looks quite OK.
Ventilation
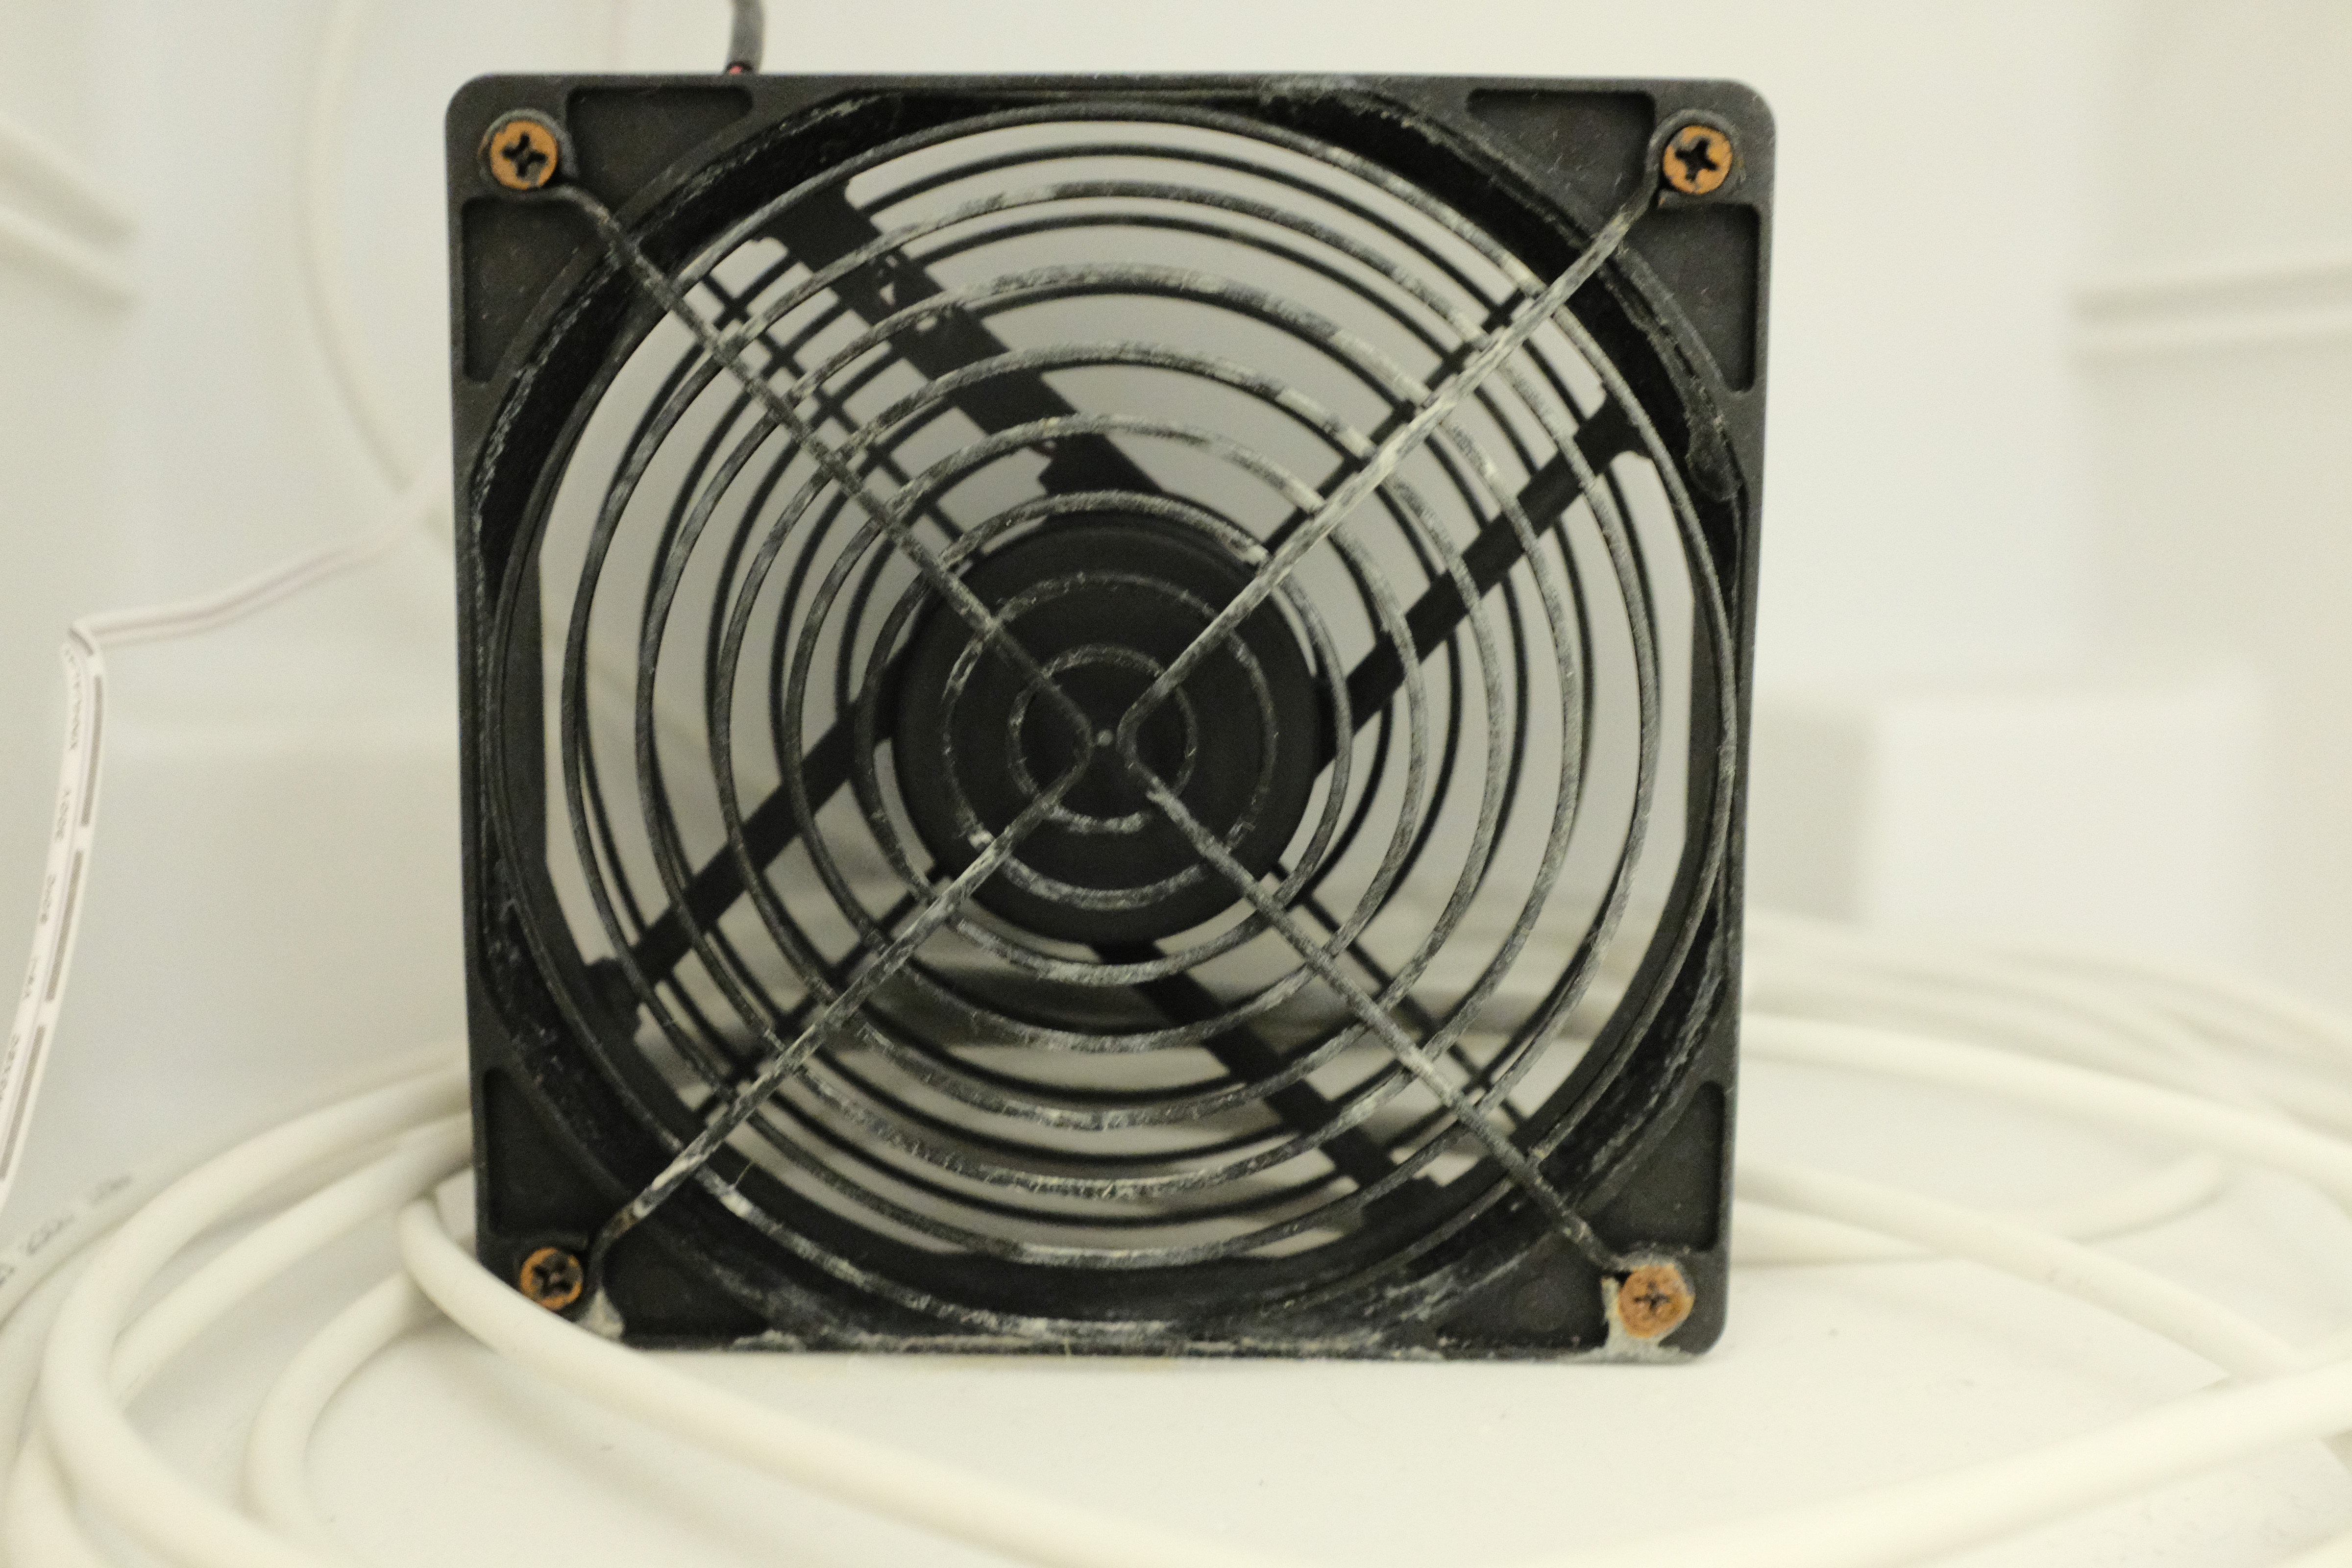
Currently this USB PC Fan does the job and can be tuned to different level. It is also somewhat silent. A big issue is that it is officially not moisture resistant, so I might replace it soon.
Chamber Setup

The setup is reasonably simple:
- Box Oriantiation: Place the box in a fridge-like fashion, so you have enough space above and below the payload.
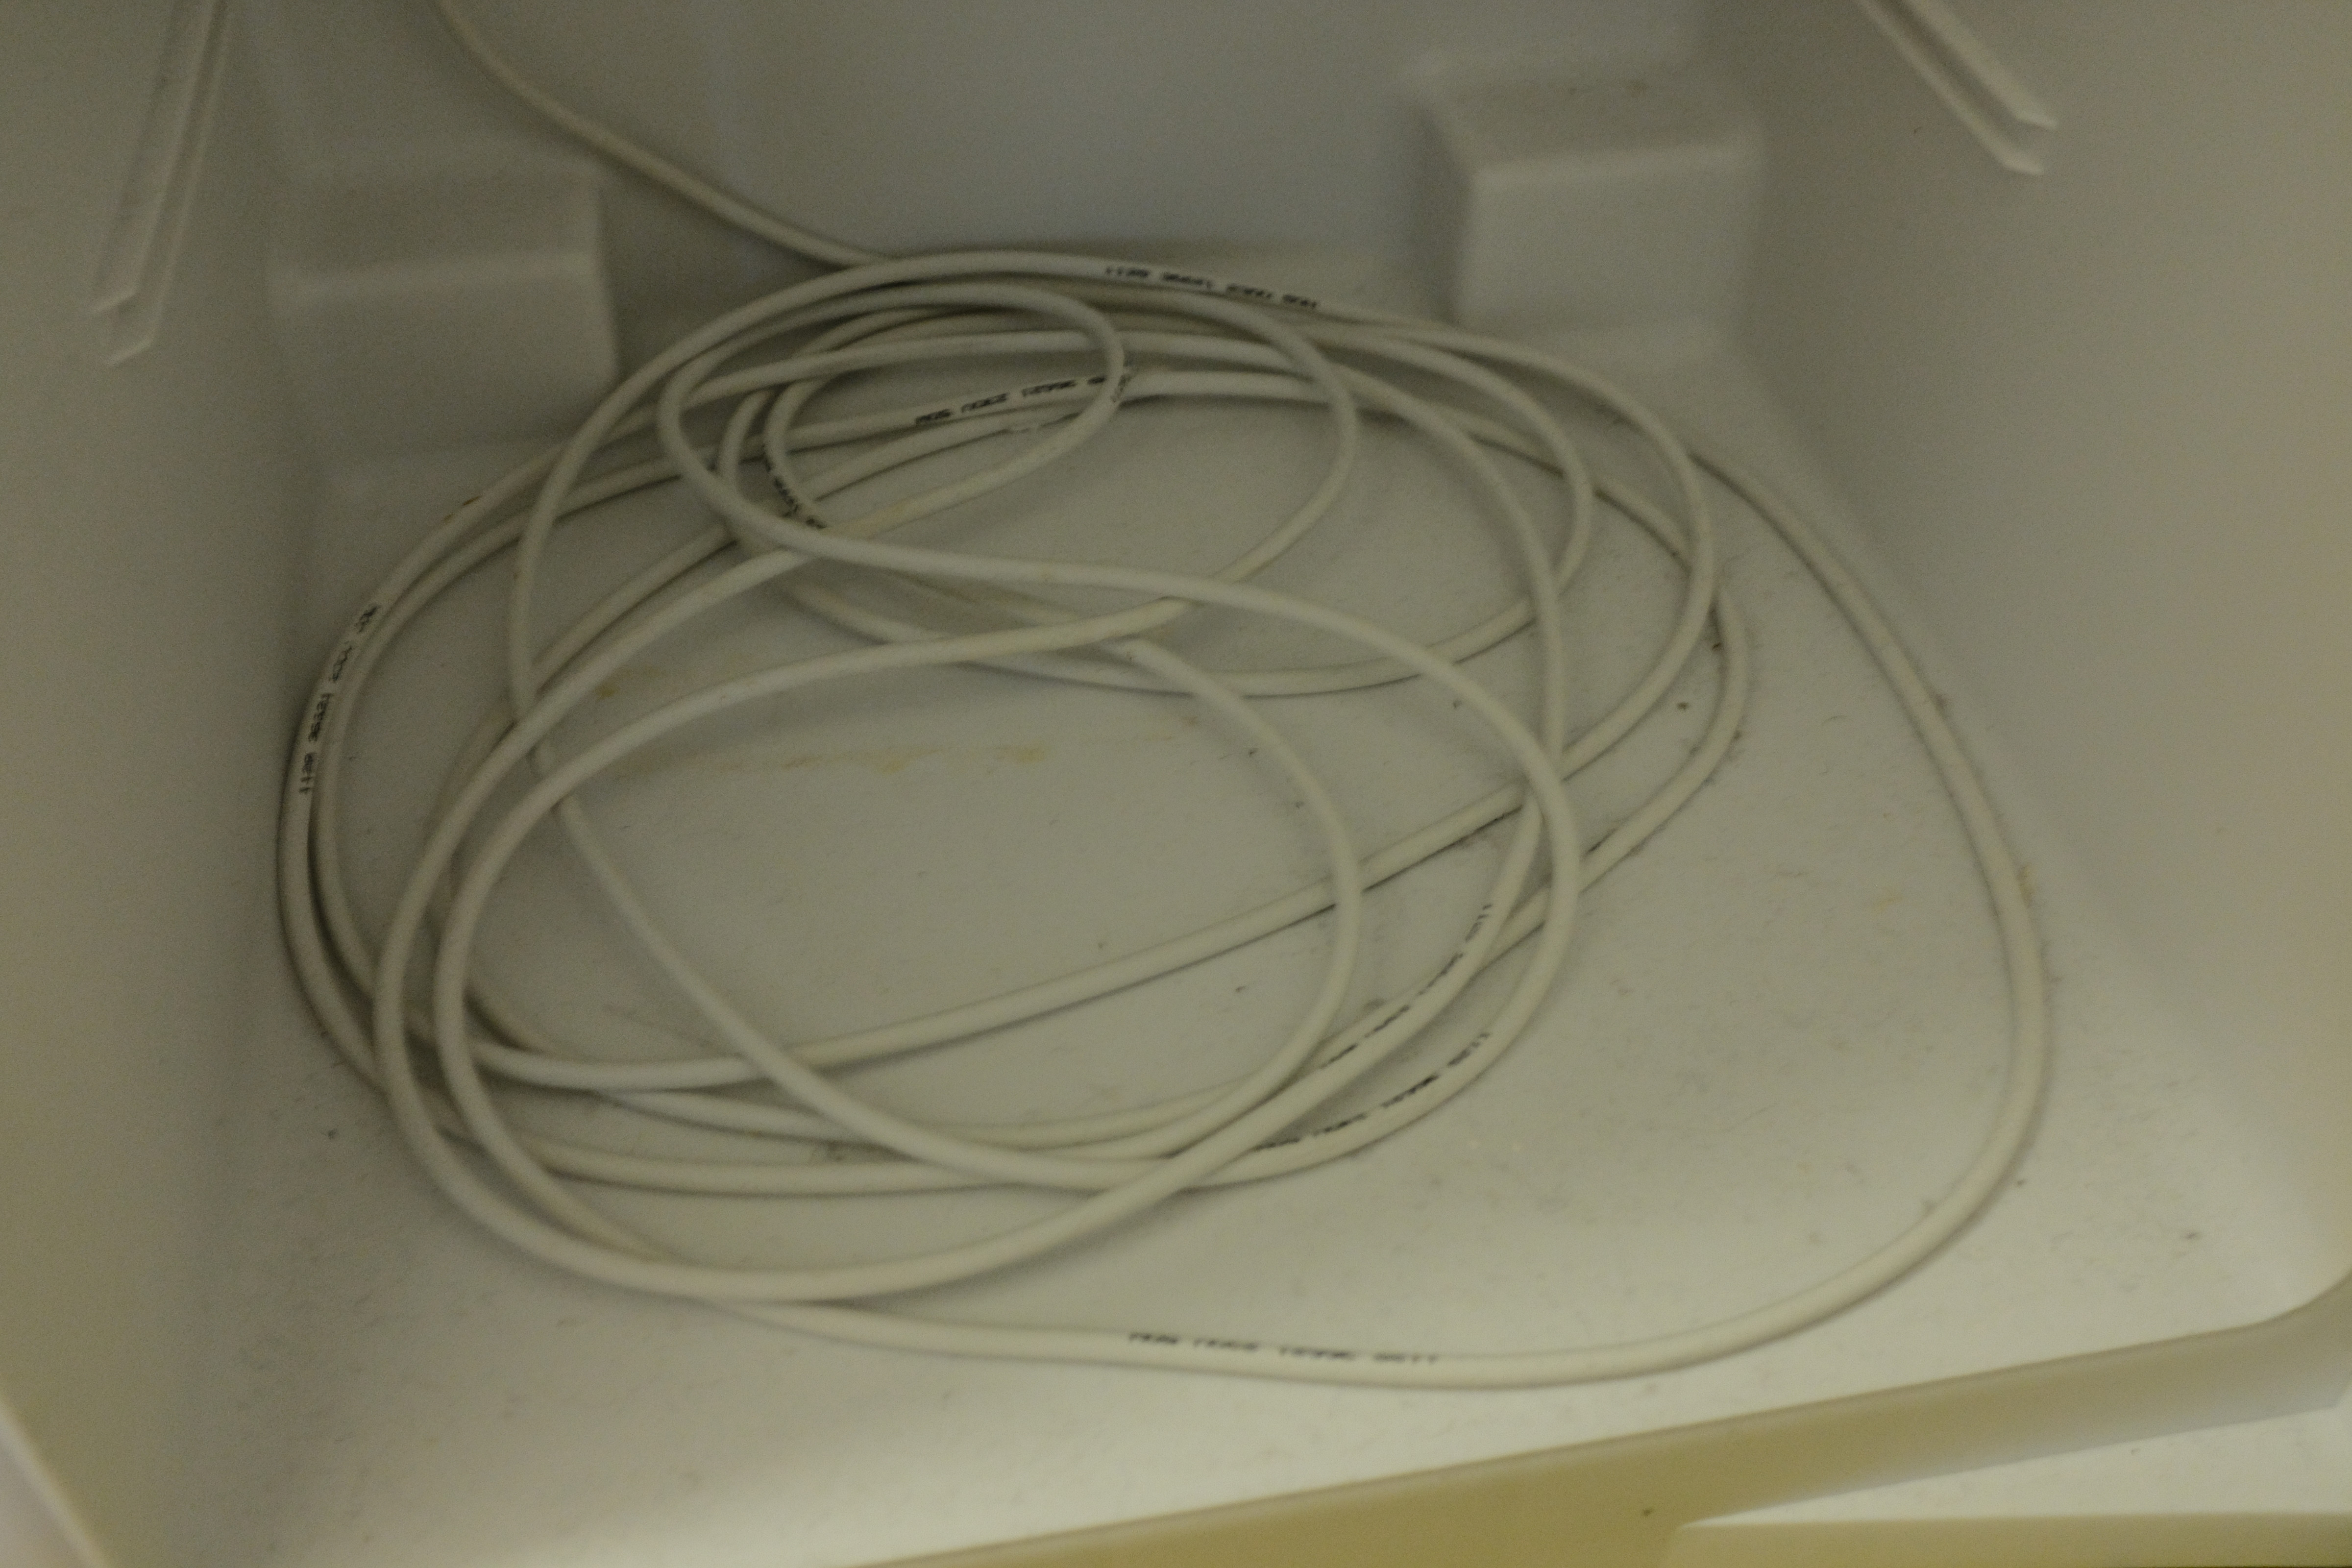
- Cable Hole: Drill a hole into the top of the box. It needs to be big enough for all cables and probes. The probes cannot be disconnected from the from the controllers, which especially for the humidity sensor means you need a large hole. You may wanna wear a mask to protect your lungs from fine plastic particles. Remove any loose plastic bits and use either duck tape or two-component adhesive to protect the insulation foam from the potentially humid environment.
- Thermo Cable: Place the thermo cable at the bottom of the box. Place it as flat as possible and don’t just cramp it into one corner to avoid overheating.
- Fan: Place the fan at the bottom as well in a way that air can circulate nicely.
- Humidifier: The humidifier goes to the bottom as well. I suggest putting at right at the front so you can refill the bottle easily while you’re using the chamber.
- Humidity Probe: Tape the humidity probe somewhere to the chamber side.
- Temperature Probe: The temperature probe goes either to the rack (which comes with the box) or into your payload (don’t forget to sterilize it properly!).
- Controllers / Cabling: The controller live outside the box. You can tape or glue them onto the sides or use a some self-sticking hooks.
The final results looks like this:

Chamber Tests
I suggest doing some dry-runs now:
- Temperature to 6°C, door closed
- Temperature at 30°C, door open (Koji needs oxygen)
- Temperature to 60°C, door closed
- Humidity to 90%
You may run into one of the following problems:
- Overshooting: The chamber will overshoot the target value (e.g. temperature goes to 62°C). For humidity, this is normally fine. For temperature, you have to decide. If you aim for 30°C during Koji production an overshoot to 33°C, there is not much harm. But if it goes all the way up to 40°C, you kill the Koji. If the effect is too strong, you either need a weaker heating solution or a PID controller. Also, check the air circulation!
- Not Reaching the Target Value: Maybe you left the door open too much? A little bit of fresh air might be required for certain tasks (e.g. Koji), but too much isn’t good either. If that’s not the problem, that’s bad news and you have underpowered your solution (that’s more likely for temperature than for humidity). Go and find some better components.
Also keep in mind that an empty chamber might react differently than a packed chamber. Air circulation and heat capacity are important factors.